Showing posts with label Nutrition. Show all posts

2.28.2014

037 Chocolate Chip Banana Muffins

One of my biggest vices is buying too much food. They say to never go grocery shopping when you're hungry, because you tend to buy more than you need. Which is true. And I know this because I am always hungry. Pair that with my attempt to "eat fresh" and "live longer" as we are often told to do, I often find my pantry/kitchen counter/fridge filled to the brim with perishable food items.

Like bananas.

I discovered the other day that I had a few bananas that were way past the point of eating fresh, so I decided to look for a recipe that would allow me to not let them go to waste. Banana bread is one of the easier baking projects one can attempt, so I decided to whip up a quick batch. Naturally, I also proceeded to take a somewhat healthy snack and make it worse for you by adding chocolate chips. NO SHAME. I really didn't add that many calories, so read on. :)

These are the ingredients needed - I had everything at home, which is usually a requirement for me to actually try recipes...haha lazy.

Yum yum bananas.

Step one is to mix the dry ingredients in a large mixing bowl.


Then, add the chocolate chips in and stir to combine. 

Aww yeah.

In a separate, smaller bowl, mix together the bananas, butter, milk, eggs, and vanilla extract.

The beginnings of something beautiful. 

Add the wet ingredients to the dry, and use an electric mixer to beat until just blended and all the ingredients are moist.

Moist.

Spoon the batter into a prepared cupcake/muffin tin. Pro-tip: Fill up cupcake/muffin liners till about 2/3 of the way. This will usually give you a good-sized cupcake/muffin without the dreaded MUFFIN TOP! 

None of that.


Bake for 18-21 minutes, or until a toothpick inserted in the middle comes out clean. 


Second pro-tip: If you're having problems with the cake sticking to the liner, that is usually a sign of over-baking. Shorten the bake time by a few minutes, and keep testing with a toothpick until it comes out clean. My mom always said under-baking is better than over-baking - you can always pop things back in the oven for a few minutes longer, but you can't undo things have already been burned. 

Mini disclaimer: There are definitely a few items that you shouldn't use this baking time testing method on (opening and shutting the oven door multiple times) like souffles, but it works great for amateur-hour snacks. Like most of what I make, lol. 

And there you have it - it really is that simple.

I had fun taking pseudo-professional food pictures.


Here is the recipe for your convenience, slightly adapted from Money Pit Love's Chocolate Chip Banana Bread.

Yield: 16 muffins
Nutrition: 187 calories/muffin 

Ingredients:
    2 cups all purpose flour
    1/4 cups sugar 
    2 tsp baking powder
    1 tsp baking soda
    1 tsp ground cinnamon
    1/4 tsp salt
    1 cup semi-sweet chocolate chips
    2 cups smashed bananas (about 3 bananas)
    1/2 cup light butter
    1/4 cup almond milk
    2 eggs
    1 tsp vanilla extract 

Instructions:
  1. Preheat oven to 350 degrees. 
  2. Whisk dry ingredients (flour, sugar, baking powder, baking soda, cinnamon, and salt) together in large mixing bowl. 
  3. Add chocolate chips and stir to combine.
  4. Mix wet ingredients (bananas, butter, milk, eggs, and vanilla extract) together in a separate, smaller bowl.
  5. Add wet ingredients to dry ingredients and mix together with electric mixer until just blended and all the ingredients are moist. 
  6. Spoon batter into prepared cupcake/muffin tin until liners are about 2/3 full. 
  7. Bake in preheated oven for 18-21 minutes or until a toothpick inserted in the middle comes out clean. 
  8. Allow to cool completely, and enjoy! :)
Nutrition Information from MyFitnessPal:


2.19.2014

036 Valentine's Day Nutella Linzer Cookies

I had every intention of posting my attempt at Valentine's Day cookies before Valentine's Day, because I had every intention of making them prior to Valentine's Day eve. But I am was lazy.

Essentially my life. 

I finally managed to get off my well-used bottom to bake last Thursday night. Clint said that me making Valentine's Day cookies for the office was very American, which I thought was evident enough by the fact that I also bought over $20 worth of candy at Walmart to celebrate this made-up holiday. Kidding - I love America, and candy, and Nutella Linzer Cookies. Smooth transition, I know.

I found this recipe on Pinterest and am pretty happy with the way it turned out, so enjoy and good luck if you try it!

The first step is to gather the ingredients. I had everything except for slivered almonds, which you can pick up at Walmart in the baking aisle.

Needs more Nutella.

In a large bowl, mix the flour, cinnamon, salt, and baking powder together, and set aside.


In a food processor, blend slivered almonds and brown sugar until finely ground and delicious. 

Delicious before.

Delicious after.

Using an electric mixer, whip the butter and powdered sugar together on medium-high speed until creamy and fluffy, which will take about a minute.


Then, add in the egg and vanilla extract and mix until combined.


Okay - so, at this point in the recipe I was supposed to add the almond-brown sugar mix before the flour mix, but apparently I don't read very well, so I added the flour first. :( 

Oops.

I don't think it affected the taste at all, but it did make mixing very difficult when I added the almond-brown sugar mixture after, because the dough got too thick. So, I had to revert to the traditional mixing method aka using my hands.


After successfully combining all the ingredients (however you get there), form the dough into a ball and flatten on a piece of plastic wrap. Cover and let chill in the fridge for about 2 hours. 


Hanging out with Dory while waiting.

After you've finished watching two episodes of something on Netflix, preheat the oven to 350 degrees. Generously dust working space with flour, cut the dough in half, and roll out each portion to about 1/8- to 1/6-inch in thickness.

The dough was pretty "wet" when I pulled it out from the fridge, so I kept adding just enough flour to keep it from sticking to the table and the rolling pin. Pro-tip: Keep the dough that you're not using in the fridge - chilled dough is easier to work with and keeps its shape better.


Start cutting out your cookies. You will need an equal number of bases (big hearts), and tops (big hearts with little hearts cut out). Recycle the dough and keep making cookies until you run out.


Carefully transfer the cookie dough to a prepared cookie sheet (I used aluminum foil over mine), and bake the cookies in the oven for about 10-12 minutes until the edges or bottoms are lightly golden. Allow to cool completely.

Fun fun fun!

And now for the best part - use whatever spread you enjoy to cover the bases. The original recipe calls for strawberry jam for the red in the Valentine's Day heart. But I love me some Nutella, so that is what I used. #noshame


Dust the tops with powdered sugar. I don't have a sieve, so it looked a little ghetto...but I'm okay with that, because it was a delicious kind of ghetto.


Assemble the cookies for an awesome finished product!

Omnomnom.

I enjoyed these cookies because they weren't too sweet. Easy to eat...which also means I ate entirely too many. The office enjoyed them, though, so I can't complain. :) The recipe is below, slightly adapted from Cooking Classy's Linzer Cookies.

Yield: 24 cookies
Nutrition: 130 calories/cookie

Ingredients:
    2 1/4 cups all purpose flour
    1 tsp ground cinnamon
    1/2 tsp salt
    1/2 tsp baking powder
    3/4 cup slivered almonds
    1/4 cup light brown sugar
    1 cup unsalted butter, softened
    1/2 cup powdered sugar, plus more for dusting
    1 large egg
    1 1/4 tsp vanilla extract
    4 oz strawberry jam, Nutella, or any spread of your choice

Instructions: 
  1. In a large bowl, whisk together flour, cinnamon, salt, and baking powder, and set aside.
  2. In a food processor, blend or pulse slivered almonds and light brown sugar until finely ground, and set aside.
  3. Using an electric mixer, whip butter and powdered sugar together on medium-high until fluffy, about a minute.Then, add in egg and vanilla extract and mix until combined.
  4. Mix in the almond mixture, and then slowly add the flour mixture and mix on low. If the dough becomes too thick, knead with your hands.
  5. Form dough into a ball and flatten on a piece of plastic wrap. Cover and let chill in the fridge for about 2 hours.
  6. Watch something on Netflix for 2 hours.
  7. Preheat the oven to 350 degrees. 
  8. Generously dust work space with flour. Cut chilled dough in half, and roll out each portion to about 1/8- to 1/6-inch in thickness. Add flour where necessary to prevent sticking.
  9. Cut out hearts with cookie cutters. You will need an equal number of bases (big hearts) and tops (big hearts with little hearts cut out). Recycle the dough where possible, and keep making cookies until you run out.
  10. Carefully transfer the cut cookies to a lined cookie sheet. Bake for 10-12 minutes until the edges or bottoms are lightly golden. 
  11. Allow to cool completely. Spread the spread of your choice onto the bases, and dust the tops with powdered sugar. 
  12. Assemble and enjoy! :) 
Nutritional Information from MyFitnessPal:


2.11.2014

035 Copycat Olive Garden Chicken and Gnocchi Soup

According to our local weatherman, today will be the coldest day of the week, followed by weather in the 50s and 60s all through Sunday. I'm pretty excited for having non-arctic-like temperatures for the next few days, but (Heaven forbid) I think I'm also going to miss the cold. I like wearing leggings and sweaters and eating potatoes and having a completely legitimately excuse to not go out to exercise - ha. Knowing Northwest Arkansas, we'll probably be back to snow storms next week. But just in case, I wanted to squeeze in a soup recipe before we lose winter.

I'm a big shameless fan of Olive Garden. I know, I know - it's not "real" Italian food. It's probably like calling OK China real Chinese food, but I love Americanized versions of all things because I am a patriot. I had a craving for their chicken and gnocchi soup the other evening, but didn't want to leave the comfort of my apartment so I decided to try and recreate it at home. I found a version on Pinterest, so enjoy my attempt below!

As always, the first thing you need is ingredients.

All fresh errrthing. Or most things.

Oops. Forgot to picture these guys. Only missed the most
important ingredient - gnocchi - in the first picture. I'm smart!

Saute the chicken breasts in a large pot over medium heat. I used pre-grilled sliced chicken strips, so I just heated them up in the pan. If cooking from fresh, you'll want to cook until mostly done (very little pink showing). Season with a little salt and pepper.


The chicken should be diced! I may or may not have cut up
the chicken in the pot after already starting to cook it... #ghetto

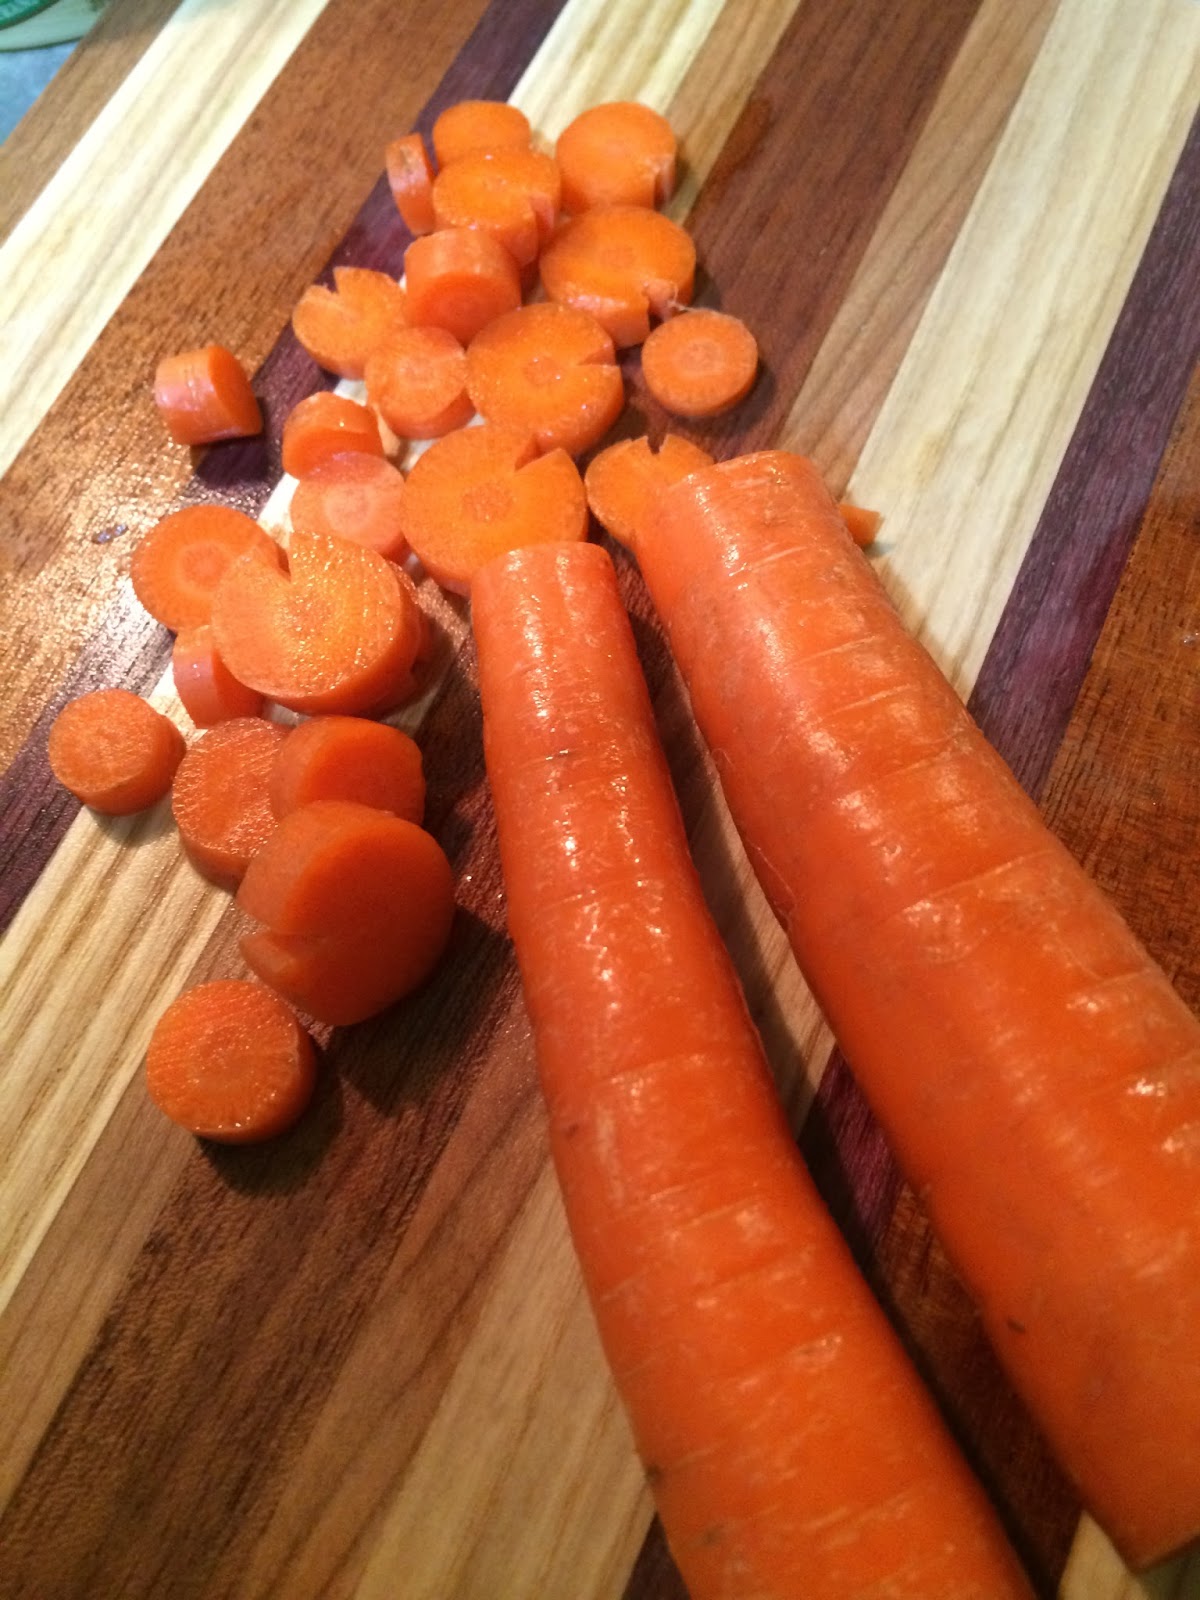
In the meantime, prep the other fresh ingredients (onion, celery, and carrots) slicing and dicing where necessary.


Add the butter to the pot, and then add the onion, celery, carrots, and garlic. 

So good!

The recipe I found was very vegetable-heavy, which I like, but you can reduce the amount of vegetables by about a third if you prefer a "soupier" soup.

Add the flour to absorb the butter and form a roux. Then add the half & half and the chicken broth.

Starts smelling really yummy at this point.

Allow the soup to come to a boil, and let it simmer while you prepare your gnocchi. To do this, you boil a pot of water and slowly add the pasta. You should only have to cook it for about 3 minutes - the gnocchi will float when it is done (if only all pasta were like that, right?).

The gnocchi I bought was made of potatoes, which seriously perplexed Clint. "POTATO PASTA WHAT IS THIS SORCERY?!"


Drain the gnocchi when done, and set aside. Then, chiffonade the spinach. I learned that word while making this recipe. It means to "shred or finely cut leaf vegetables, often used as a garnish for soup". Behold, my chiffonade-ded spinach!

Fancy.

When ready to eat, add the spinach, thyme, and cooked gnocchi to the soup. Taste, and adjust seasoning with salt and pepper. Stir, and serve immediately.

Pretty close, methinks.

Here is the recipe for your convenience, slightly adapted from Dessert Now, Dinner Later's Copycat Olive Garden Chicken and Gnocchi Soup.

Yield: 4 servings
Nutrition: 256 calories/serving

Ingredients:

    3 oz boneless skinless chicken breasts, cut into cubes
    1 tbsp olive oil
    2 tbsp light butter
    1/2 medium onion, diced
    1/2 cup celery, diced
    1/2 cup carrots, diced
    1/2 tsp minced garlic
    1 1/2 tbsp flour
    1/2 quart (2 cups) fat-free half & half
    1 cup low sodium chicken broth
    1/2 cup fresh spinach
    1 tsp dried thyme
    salt to taste
    pepper to taste
    1 cup gnocchi

Instructions:
  1. Heat olive oil in large pot over medium heat, and cook chicken breasts. If cooking from fresh, cook until mostly done (very little pink showing). Season with a little salt and pepper.
  2. Prep the vegetables. Add butter to the large pot with chicken until melted, then add the onion, celery, carrots, and garlic. Cook until the onion is translucent. 
  3. Add flour to the mixture to soak up the additional liquid from the butter. This will form a roux. Stir well.
  4. Add the half & half and chicken broth to the pot. Allow to come to a boil, and then lower the heat to let it simmer.
  5. Prepare the gnocchi according to instructions. It should take about 2-3 minutes to cook completely. Finished gnocchi will float to the top. Drain and set aside.
  6. Chiffonade the spinach. Then, add the the spinach, thyme, and cooked gnocchi to the soup. 
  7. Stir and season with salt and pepper as necessary.
  8. Serve immediately.
  9. Enjoy! :)
Nutritional Information from MyFitnessPal: